5 min read
SharePoint Class Registration Form
Introduction
This walkthrough shows how to build an automated registration form that closes down registration if the seats in the class fill up.
Here’s an example of what the result will look like:
Create Lists
This solution requires two lists, one containing the classes and another one containing the registrations.
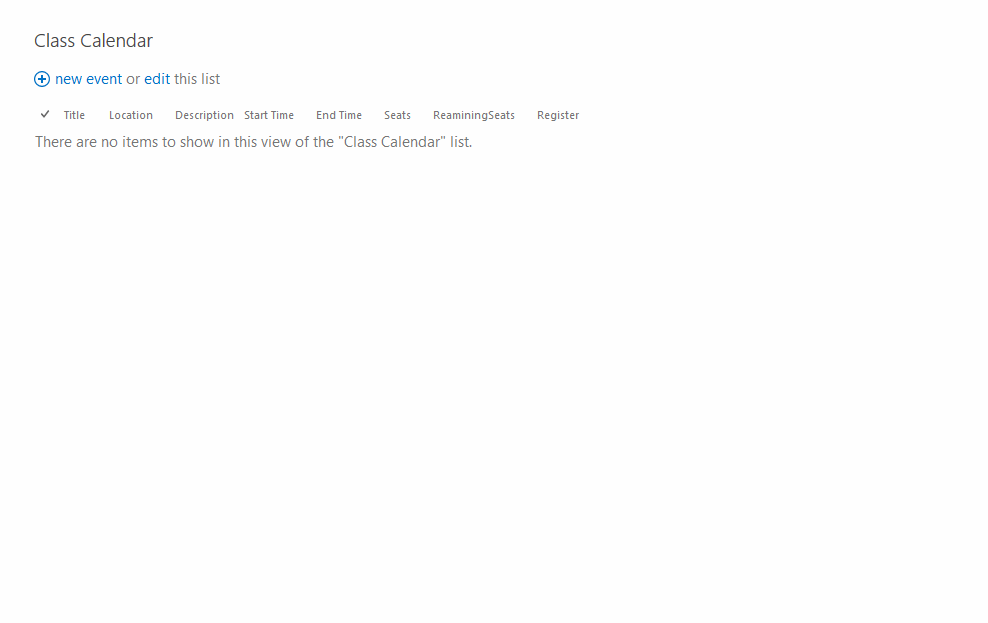
Class Calendar
The class calendar list holds the classes and informations such as the remaining seats.
Type: Calendar
Fields:
-
Seats
- Type: Number
-
FilledSeats
- Type: Number
-
RemainingSeats
- Type: Calculated
- Formula:
=Seats-FilledSeats - Data type returned: Number
-
SeatsIncrement
- Type: Calculated
- Formula:
=FilledSeats+1 - Data type returned: Number
-
Closed
- Type: Yes/No
- Default value: No
-
StaticID
- Type: Number
- Note: This is a Hack we have to put in because we can’t use the real ID field in a calculated column. We will use a workflow to fill it in correctly later. I am open to suggestions on a better way to do this.
-
Register
- Type: Calculated
- Formula:
=IF(Closed=TRUE;"Closed for registration";IF(RemainingSeats>0;CONCATENATE("<a href='#' onclick='OpenRegistrationForm(";StaticID;")'>Register</a>");"Class is Full")) - Data type returned: Number
- Note: You might have to replace the semicolons with commas as this seperater depends on the SharePoint localized installation.
Class Calendar view
In order to register for an class we need a custom view.
Type: Default view
Option: Make this the default view
Columns:
- Title
- Location
- Description
- Start Time
- End Time
- Seats
- RemainingSeats
- Register
Class Attendees
This list contains the registration every entry shows the attendee and the chosen class ID.
Type: Custom List
Fields:
-
Username
- Type: Single line of text
- Option: Required
-
Meeting
- Type: Lookup
- List: Class Calendar
- Field: Title
-
MeetingID
- Type: Single line of text
Create Workflows
SetStaticClassID Workflow
The SetStaticClassID Workflow is really a hack because SharePoint won’t let you use the ID field in the calculated columns. All we are doing is setting a number field with the ID field every time the calendar item is created or modified.
- Open the Class Calendar in SharePoint Designer
- Add a list workflow
- Name it: SetStaticClassID
- Update Start Options: Start Workflow automatically when an item is created and Start workflow automatically when an item is changed
- Add an action: Set Field in Current Item
- For field link choose: StaticID
- For value link click on the fx button
- Data source: Current Item
- Field from source: ID
- Save and publish
Registration Workflow
The Registration Workflow is one of the main parts of this solution. This is the Workflow that will update the remaining seats in the calendar list when an Attendee register for the course.
- Open the Class Attendees list in SharePoint Designer
- Add a list workflow
- Name it: Registration
- Update Start Options: Start Workflow automatically when an item is created
- Add an action: Update List Item
- Click the “this list” link in the action
- Change the list ot the Class Calendar list created earlier
- Click the “Add” button
- Choose “FilledSeats”
- Click the fx button
- Data source: Class Calendar
- Field from source: SeatIncrement
- Field: ID
- Click the fx button
- Data source: Current Item
- Field from source: MeetingID
- Close all dialogs until you get back to the “Update list Item” dialog by clicking on ok
- In the same dialog in the Find the list item section choose for Field: ID
- Click on the fx button
- Data source: Current Item
- Field from source: MeetingID
- Click ok
- Save and publish
Create InfoPath Form
The end user will eventually register through the InfoPath form on the Class Attendees list.
- Open the Class Attendees list InfoPath form
- Right-click on the Title entry field and select Text Box Properites
- Click the fx button on the default value filed
- Add this for the formula
concat(Username, " registration for event number ", Meeting) - Add a fomratting rule to the Title and MeetingID field
- Check “Hide this control” foreach formatting rule
- Move the filed Title and MeetingID to the bottom of the form as the will be invisible.
- Add a formatting rule to the Username and Meeting field
- Check “Disable this control” foreach formatting rule
- Right-click on the Username entry field and select Text Box Properites
- Click on the fx button for the default value
- Add this formula
username() - Select the Meeting entry field
- In the Properties tab click the “Default Value” button
- Click the fx button on the default value field
- Insert the MeetingID field
- Delte the Attachments field
- Publish the form
Querystring
In order to automatically set the the meeting in the InfoPath form, we will use a query string to the MeetingID field.
- Open the Class Attendees list
- Select the List tab > Form Web Parts > (Item) New Form
- Add a Query String (URL) Filter webpart
- Updat the “Query String Parameter Name” with meeting_id in the webpart properties
- In the webpart options select Connection > Send Filter Values To > InfoPath Form Web Part
- Select the MeetingID field as Consumer Field Name
- Save the changes
Add JavaScript
The javascript creates the dialog box javascript to open our new form. The call to this javascript method is in the calculated field on the attendees list to register.
- Open the SharePoint site were you are going to display the Class Calendar list webpart
- Edit the page and select Embed Code on the Insert tab
- Paste the following javascript and save the page
<script type="text/javascript" src="//cdn.jsdelivr.net/jquery/2.1.0/jquery.min.js">
// visit http://www.jsdelivr.com/#!jquery to update the cdn url
</script>
<script type="text/javascript">
function OpenRegistrationForm(meeting_id){
    var options = {
    // to geht following make a right click on the new item link in the Class Attendees list and select open in new tab.
    // Now copy the url in the browser from the beginning to the of the &RootFolder= part
    // Inser the link below and replace [RootFolder] with meeting_id
    url:"http://sharepoint.vbl.ch/Personal/Lists/Class%20Attendees/Item/newifs.aspx?List=21803ee2-66ab-4df2-9116-b02853ca7e1a&meeting_id="  + meeting_id,
    width: 750,
    height: 600,
    dialogReturnValueCallback: DialogCallback
  };
  SP.UI.ModalDialog.showModalDialog(options);
}
function DialogCallback(dialogResult, returnValue){}
</script>
Finally
Now we got everything required to set up our Class Registration Form.
- Open the SharePoint site were you are going to display the Class Calendar list webpart
- Add the Class Calendar list webpart
- Edit the webpart and select the Registration view
- Add a class example
- Now you should be able to register for classes by click on the registration link.
Source
SharePoint Calculated Columns By Andy Wessendorf SharePoint 2010 Class Registration Form Enable clickable urls in calculated fiels)
Category: sharepointTags: registration , sharepoint , solution , training , workflow
Edit Page / Show Statistic